Ok, so it may, for normal folk, be a little early to be thinking about the C word, but Carol is taking the Dreamees samples to the NEC in the Autumn and I thought that at that point people would be thinking about the C word. There is logic to my thinking. Sometimes.

The photos are on the dreadful side of awful because I, and not my husband, was in charge of the camera. I'll ask him to take some more!!!!! The beautiful girly papers are from my favourite Dreamees 'Back to Basics' CD. The main image is a digi stamp from the Dreamees 'Seasonal Sweeties' CD. (www.dreamees.org.uk). This is another really useful CD to add to the collection. The snowflakes and little bauble (on which I've stamped the Woodware sentiment) are both from Spellbinders. The flowers are from Wild Orchid Crafts.

This is the third advent calendar I've made and I'm so fed up with having to hunt around my craft room for hours to find the instructions I thought I'd do a tutorial, as much for me as anyone else!!!! I'm so disorganised. If you fancy having a go at one I really hope that these instructions are of some help.
You will need:
Crafter's Companion Ultimate Pro The boxer Board
Scoring tool
Art Institute Glue or the Cosmic Shimmer Glue - something strong and tacky!
Double sided tape
Piece of Card 12"x6"
8 Pieces of Card 6"x6"
24 Pieces of Card 3 1/2" x 4 3/4"
24 Pieces of Card 6 1/2" x 3 1/2"
2 Pieces of Patterned Card 3"
Small Peel Off Numbers
Patterened Paper to Decorate
I really don't want to treat anyone like a numpty so forgive me if you think I've put too much info in here!
Start with making the little boxes.
 You will need the 24 pieces of card measuring 3 1/2" x 4 3/4".
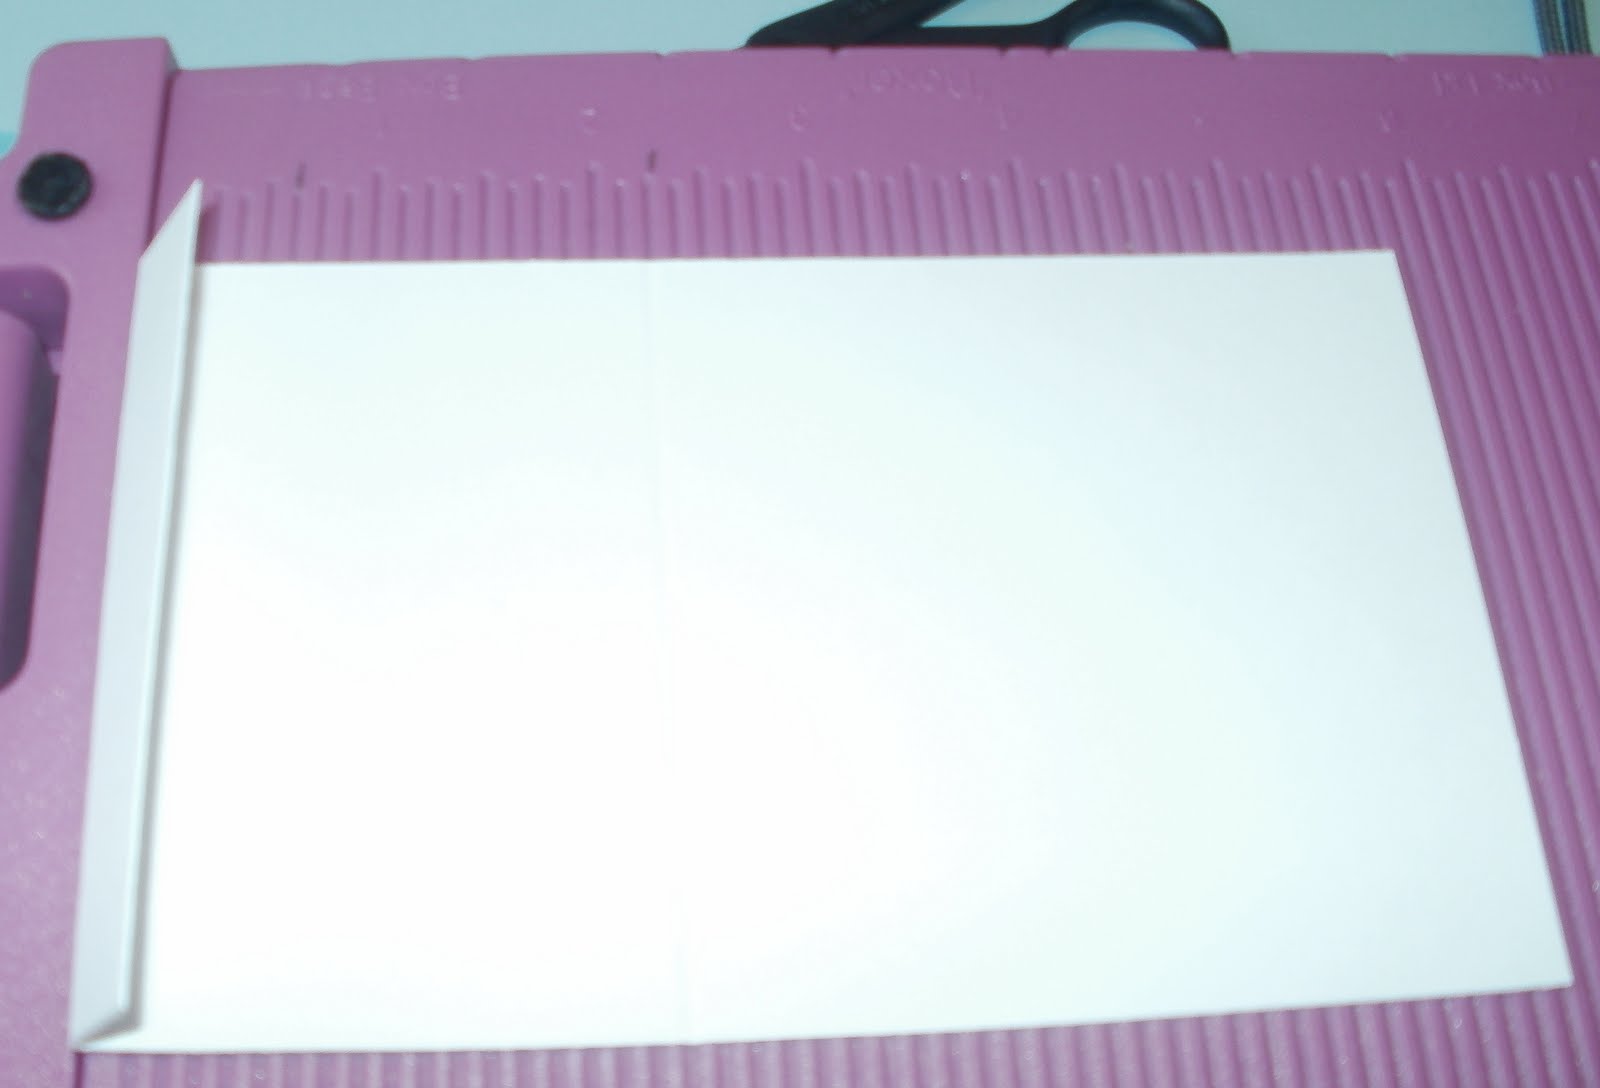
On the Boxer board work on the box LID side. Score each piece of card on all 4 sides at 5/8"
Fold and burnish each fold with your scoring tool.
 Cut out small triangular slices of card from all 4 corners and glue (it's much stronger that double sided tape).

Now make the box slips. You will need 24 pieces of card 6 1/2" x 3 1/2".
Work on the box BASE side of the scoring board.
Score at 5/8" and fold and burnish the crease. Fold over the crease and put the SCORED edge of the card up against the lip of the Ultimate Pro.
 Score again at 2 1/4"
 Fold and burnish this crease and then put the scored edge up against the lip of the Ultimate Pro and score again at 5/8".
 Fold and burnish the crease and butt the fold up against the lip of the Ultimate and score again at 2 1/4". Fold and burnish this crease.
 Glue the short edges together so that you now have something vaguely resembling this:
 If you want to put decorative paper liners in the boxes you will need 24 pieces of paper 2 1/8" x 3 3/8" and glue them into the box bases.
Now you need to start assembling the box tower! Onto a piece of the 6" x 6" card glue the box slip bases so they look like this:
 On top of this, glue another piece of 6" x 6" card:
 Onto this you need to place a further 4 boxes - this time in this configuration (so that a long edge of a box is over the top of a short edge - it makes sense in the picture!):
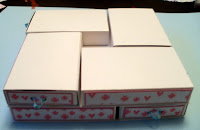 Again glue a piece of the 6" x 6" card to the top of the box slips and keep adding layers until you've completed all six: (apologies for the shocking photograph!!!!!!!):

Fold the piece of 12" x 6" card at 6" and again at 9" and score. This makes the base of your easel card.
The box on the easel card can be any size you want - it depends on what you're going to put in it. On the picture mine is 1 1/2" square and 3/4" deep. To make this you will need 2 pieces of card 3" square. On the box lid side of the board score at 3/4" on all four sides and repeat this with the second piece of card on the box base side:
 Again, cut triangular slices out of the corners and glue.
All that's left is to add the numbers to the boxes and to decorate the easel card. If you work in batches it's really not that bad - my daughter loved her advent calendar and the great thing is, it's reusable!
I hope you haven't lost the will to live reading through all this - a gold star to you if you ploughed through to the bitter end!
Happy, happy crafting and thank you for stopping by! Big hugs, Jayne

The photos are on the dreadful side of awful because I, and not my husband, was in charge of the camera. I'll ask him to take some more!!!!! The beautiful girly papers are from my favourite Dreamees 'Back to Basics' CD. The main image is a digi stamp from the Dreamees 'Seasonal Sweeties' CD. (www.dreamees.org.uk). This is another really useful CD to add to the collection. The snowflakes and little bauble (on which I've stamped the Woodware sentiment) are both from Spellbinders. The flowers are from Wild Orchid Crafts.

This is the third advent calendar I've made and I'm so fed up with having to hunt around my craft room for hours to find the instructions I thought I'd do a tutorial, as much for me as anyone else!!!! I'm so disorganised. If you fancy having a go at one I really hope that these instructions are of some help.
You will need:
Crafter's Companion Ultimate Pro The boxer Board
Scoring tool
Art Institute Glue or the Cosmic Shimmer Glue - something strong and tacky!
Double sided tape
Piece of Card 12"x6"
8 Pieces of Card 6"x6"
24 Pieces of Card 3 1/2" x 4 3/4"
24 Pieces of Card 6 1/2" x 3 1/2"
2 Pieces of Patterned Card 3"
Small Peel Off Numbers
Patterened Paper to Decorate
I really don't want to treat anyone like a numpty so forgive me if you think I've put too much info in here!
Start with making the little boxes.

On the Boxer board work on the box LID side. Score each piece of card on all 4 sides at 5/8"
Fold and burnish each fold with your scoring tool.


Now make the box slips. You will need 24 pieces of card 6 1/2" x 3 1/2".
Work on the box BASE side of the scoring board.
Score at 5/8" and fold and burnish the crease. Fold over the crease and put the SCORED edge of the card up against the lip of the Ultimate Pro.


Now you need to start assembling the box tower! Onto a piece of the 6" x 6" card glue the box slip bases so they look like this:


Fold the piece of 12" x 6" card at 6" and again at 9" and score. This makes the base of your easel card.
The box on the easel card can be any size you want - it depends on what you're going to put in it. On the picture mine is 1 1/2" square and 3/4" deep. To make this you will need 2 pieces of card 3" square. On the box lid side of the board score at 3/4" on all four sides and repeat this with the second piece of card on the box base side:

All that's left is to add the numbers to the boxes and to decorate the easel card. If you work in batches it's really not that bad - my daughter loved her advent calendar and the great thing is, it's reusable!
I hope you haven't lost the will to live reading through all this - a gold star to you if you ploughed through to the bitter end!
Happy, happy crafting and thank you for stopping by! Big hugs, Jayne
11 comments:
Well for you first tutorial may I CONGRATULATE you.
That is fantastic so clearly presented, I love it and am going to have a go as a Jewel Box for my friends birthday,
Thank you so much for sharing.
Patricia xx
WOW, how much work have you put into this??! It looks fantastic and your tutorial is very clear and easy to follow.Love the papers and colours you've used - gorgeous project Jayne.
Lorraine xx
WOW, this is fabulous Jayne, Love your colours, its nice to see a not so pastel pink. Your instructions look fantstic cant wait to give it a go!!!!
Hugs Kim xx
what a fantastic project Jayne - and an excellent tutorial!
Kim x
Whoa hun, this is amazing! A totally fantastic creation and tutorial but I think the thing I admire the most is your PATIENCE! Hugs, Snuffly Squirrel xxx
A lovely project Jayne, thankyou for this sample for us at Dreamees, you have done a wonderful job cant wait to seeit in the flesh so to speak.
Carol
www.dreamees.org.uk
Hi Jayne
what a stunning project thanks for doing this for us at dreamees.
You are so talented.
Carol x
Dreamees
Wow Jaybe thanks for this me darlin , what a brilliatn tut I hopefuly will get time to have a go at some point!!!!! xxx
Well done Jayne. It looks like a lotta lotta work but with a wonderful end result. Thank you for the very clear instructions. I might even give it a go some day and it would be lovely to have the tut to hand.
Edna x
Numpty......NOT!
Its a fabulous creation, gorgeous and girly.
Thank you for the tutorial.
Can we have a video next?
Only joking, hugs Chris xxx
This is fab, a great idea too xx
Post a Comment